前言:客户端签名直传是指在客户端生成签名,使用签名上传文件到OSS。客户端可以直接将文件上传至OSS,减少了中间环节,因此可以加快上传速度。本文介绍如何进行客户端签名直传。
官网上提供的示例中使用的前端插件是Plupload,但是我们平时开发Vue项目的时候一般是不会用到这个的。
第一步:下载客户端代码 下载链接
下载之后在编辑器内打开
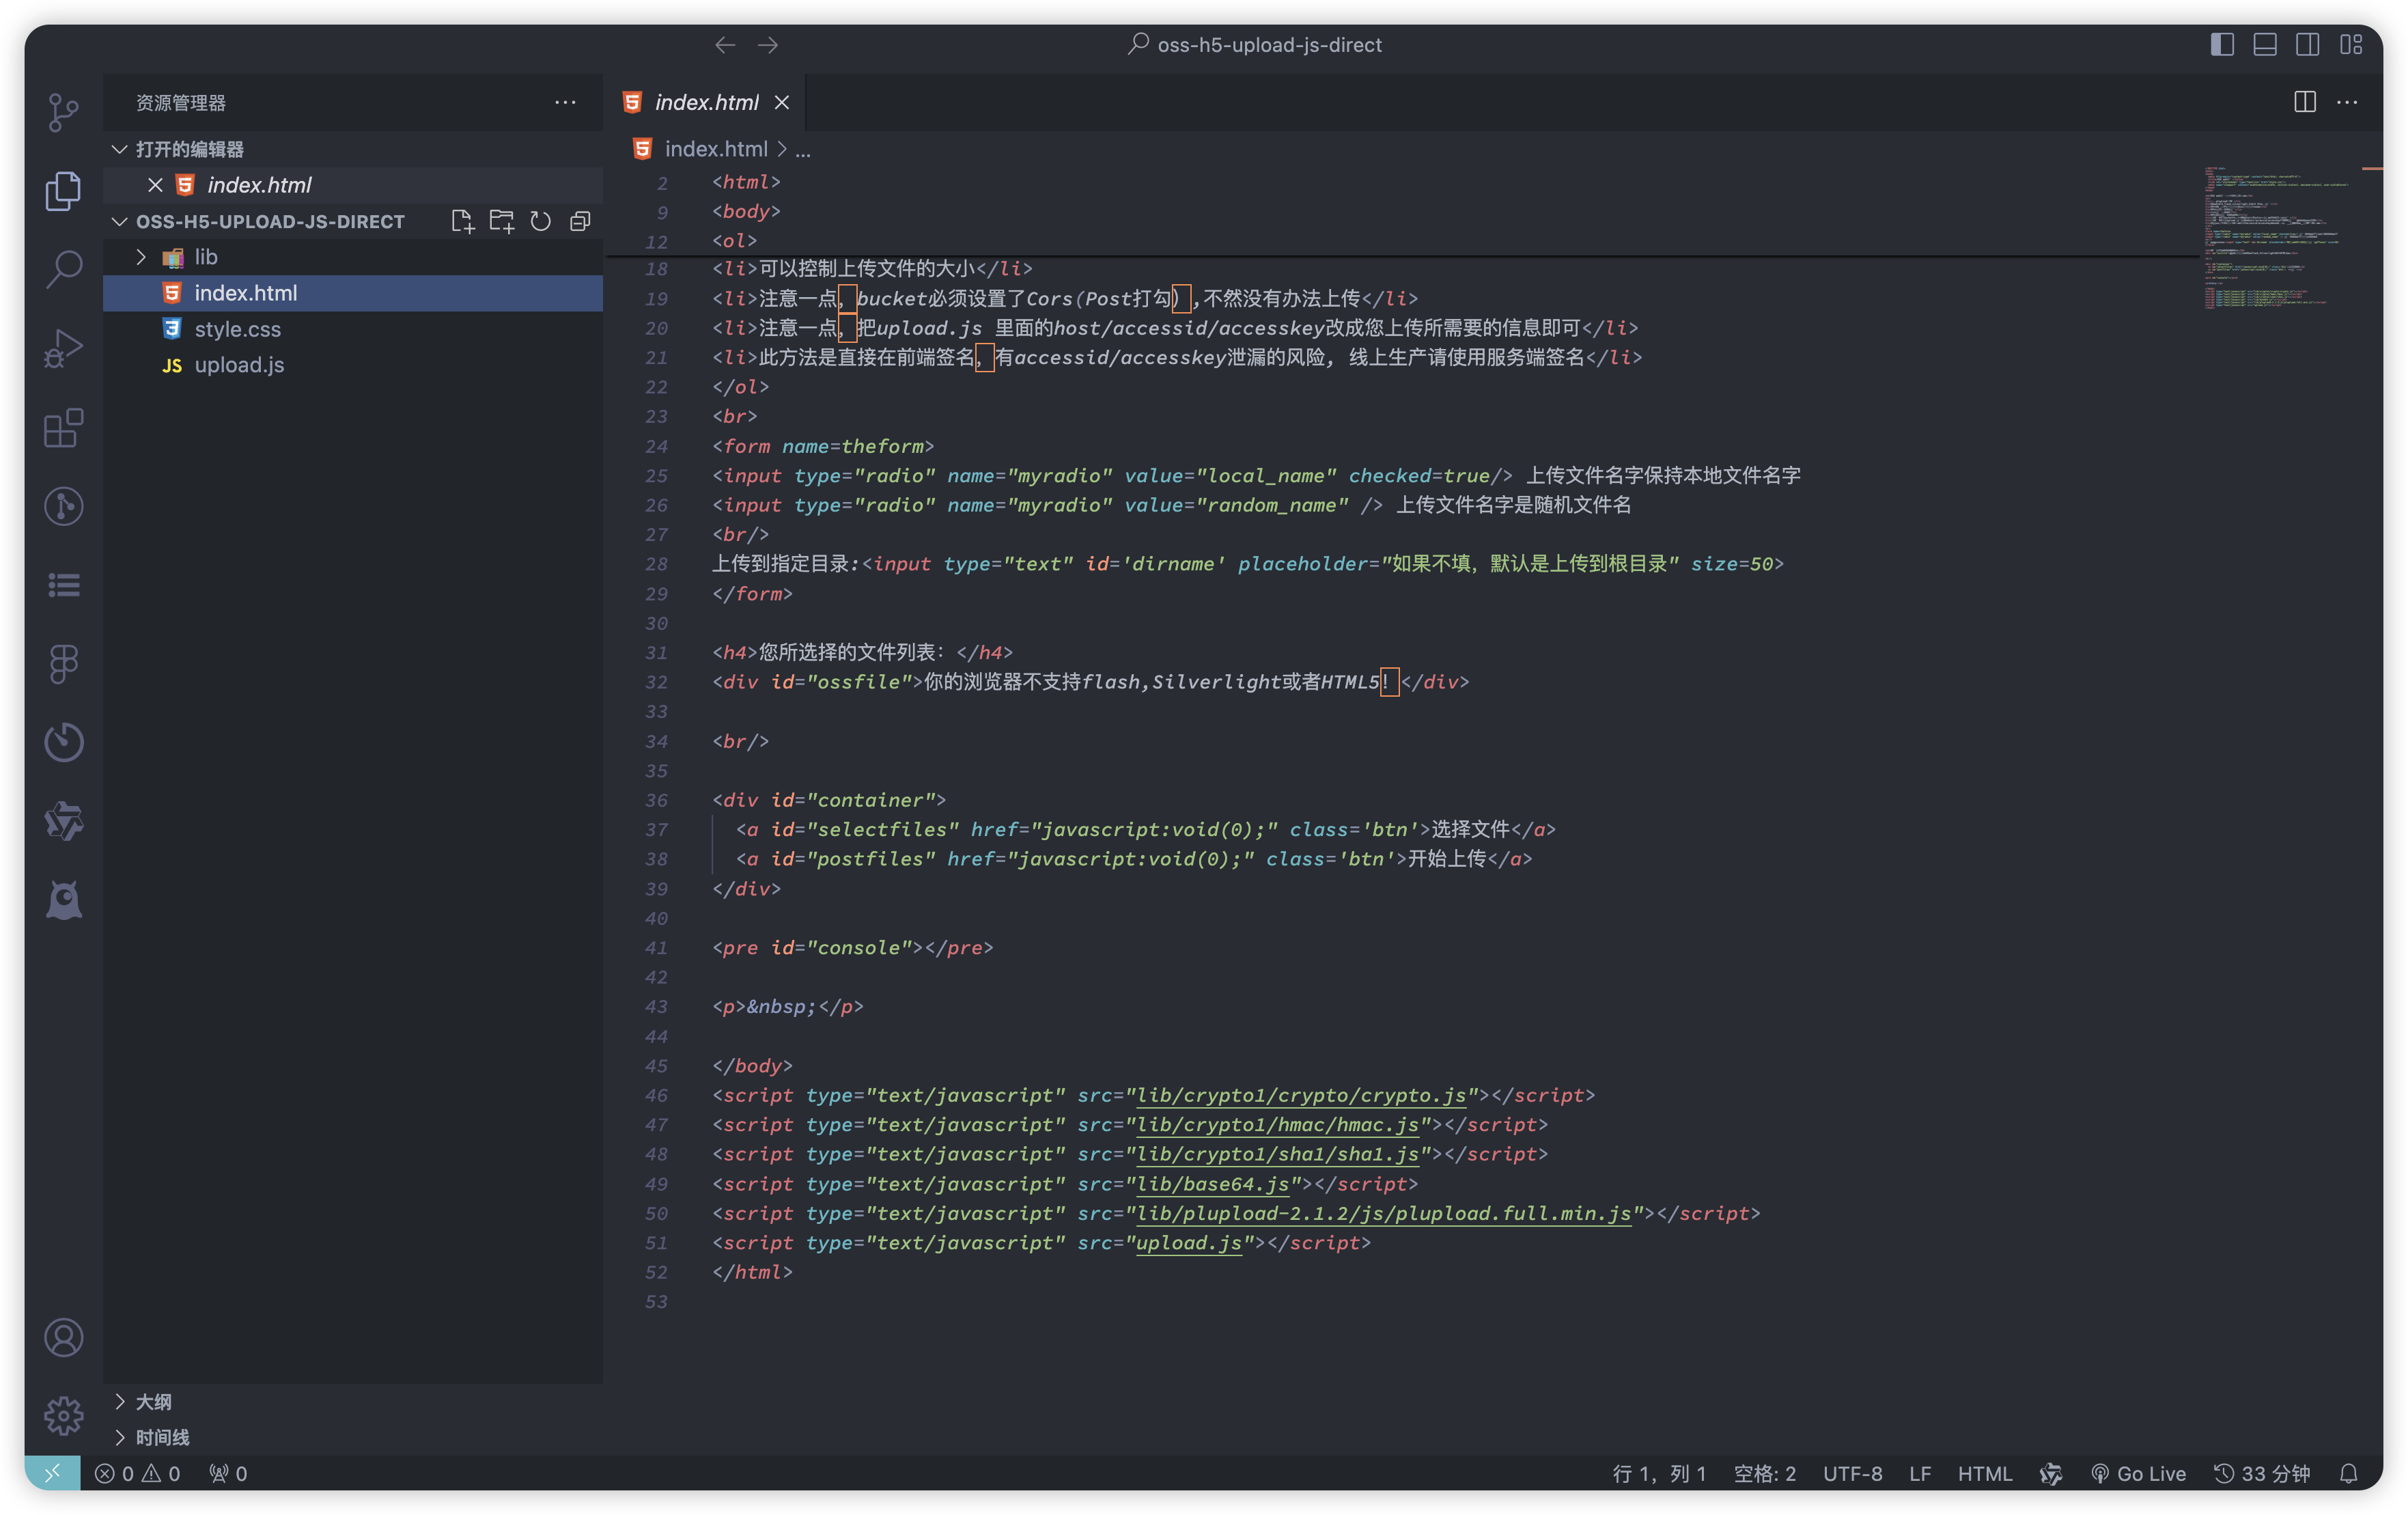
里面有一些代码vue项目是用不到的,所以我们挑选一下复制到我们的项目里。
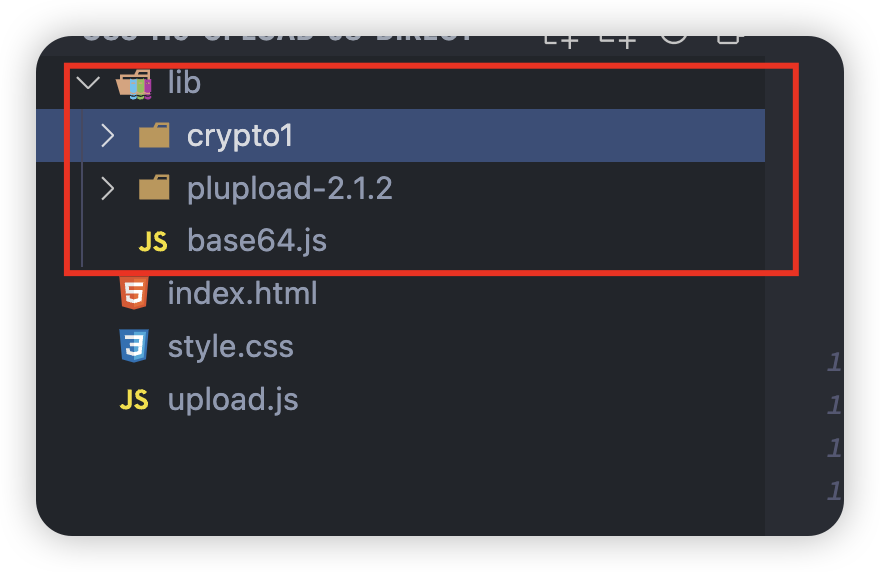
将「lib」文件夹下的 「crypto1」和「base64.js」复制出来,然后粘贴在我们的vue项目里。
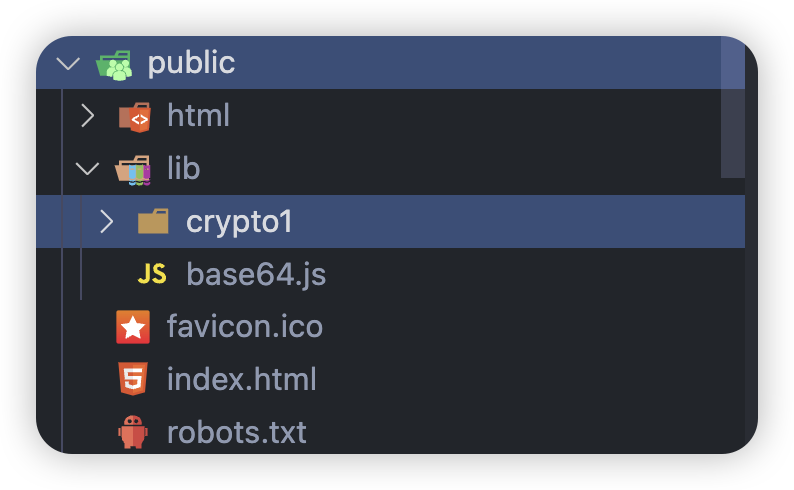
在项目「public」文件下创建「lib」文件夹,将复制好的代码粘贴到文件夹下面
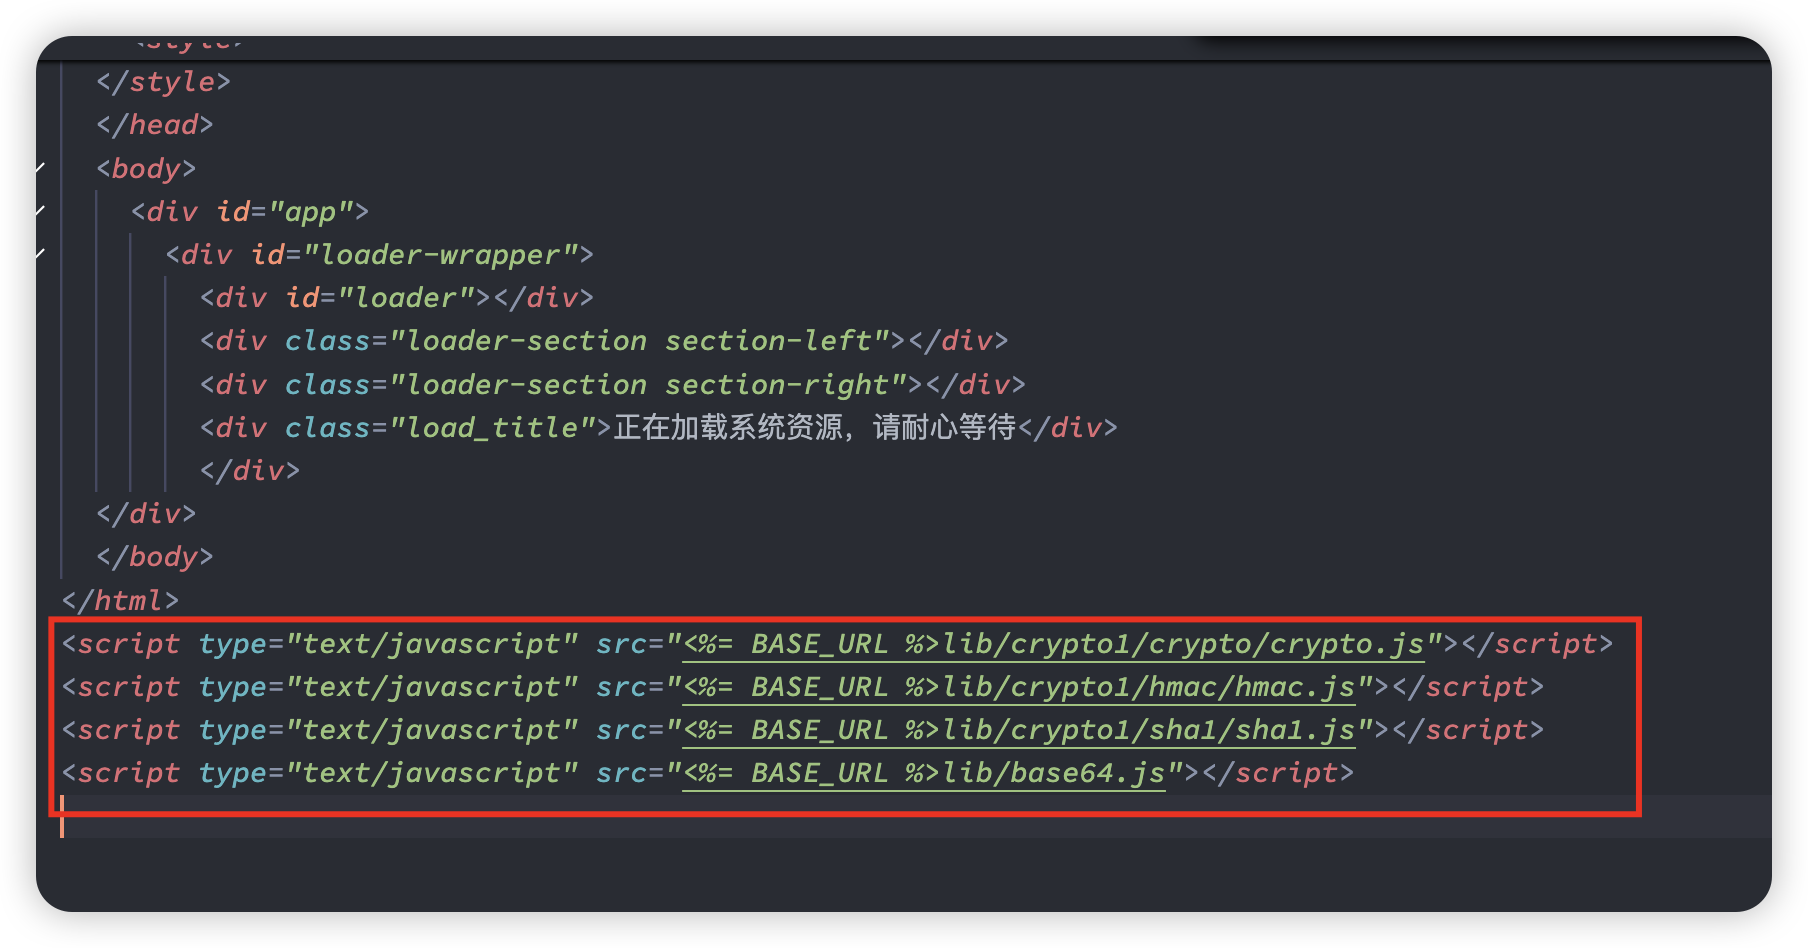
在「index.html」文件中引入 ,如下图所示
这个时候,就可以在项目中去实现oss直传了。
代码实现
不同的人会有不同的代码风格,以下代码请结合自己具体项目实现。
阿里文档中的第二和第三步属于服务端步骤,本文用到的是文档中的 【STS服务】。
前端调用后端API接口,获取服务端返回的STS配置,返回示例如下
{
"StatusCode": "200", // 成功响应状态码
"AccessKeyId": "STS.NUuVDgUMbN8BcK6RgCn2JQSwW", //临时访问密钥
"AccessKeySecret": "6mpcv9Drd33EjXSeveWkFVfoFTc3AE5AS549za", //临时访问密钥
"SecurityToken": "CAIS3QJ1q6Ft5B2yfSjIr5bAHf7TuJJD+fqpYW2HtmcWYr1mvpbctTz2IH9MdHJoB+ofsP82nmBY5v4Ylrh+W4NIX0rNaY5t9ZlN9wqkbtJwEEVzYOVW5qe+EE2/VjQIta27OpcEJbGwU/OpbE++rk0X6LDmdDKkckW4OJmS8/BOZcgWWQ/KPVgjA8xNdDN/tOgQN3baKZTINQXx0E7RF1ZQsxBgkgEP7r+kkOSW7QDCqUD+1u4Nrp7tH4CgaMBgRsUdNe24x+trbKHM/TdN4hxRjsdMgbdD5C3Ms6PrYS1Y6A7UNPHPoJ89bl1ieqEgXrVcq+Lg0PRgoquRtfyulU0WYr4EDX+OGd74kJqUIo7zaIZlL4ScEm/Wz9WCOqPytw4Zen8BPGtIAYF+ci8rUUJ2E2+Bc/X3qACSOB3QQqyEwbww1oFu01", // 安全令牌
"Expiration": "2024-03-19T08:33:47Z", // 过期时间[格式ISO标准时间]
"host": "https:xxxx.oss", // 上传地址和文件回显地址
}
STS配置返回后,有一个Expiration过期时间是需要注意一下的,我们只有在过期时间内上传才可以成功。
因为这个配置在一定时间内是有效的,所以我们可以不用上传一次就调用一次,可以使用vuex去保存一下,以便我们后面使用。
设置vuex
const upload = {
state: {
uploadConfig: localStorage.getItem('uploadConfig') ? JSON.parse(localStorage.getItem('uploadConfig')) : null,
},
mutations: {
setUploadConfig: (state, data) => {
state.uploadConfig = data
localStorage.setItem('uploadConfig', JSON.stringify(data))
}
}
}
export default upload
设置getters
const getters = {
uploadConfig: state=> state.upload.uploadConfig,
}
export default getters
导入modules
import getters from './getters'
import upload from './modules/upload'
Vue.use(Vuex)
const store = new Vuex.Store({
modules: {
upload
},
getters
})
export default store
封装统一的上传代码 upload.js
import store from '@/store/index.js'
import { getStsSet } from "@/api/upload.js";
import axios from "axios";
/**
* 阿里云oss web 直传
* @param file{File} 文件
* @param path{String} 文件夹 avatar=用户头像;user/assess=用户体态评估; files/movement=动作列表;files/rehabilitation=康复测评
* @param limitSize{Number} 上传限制大小,默认100M
* @returns Promise
*/
export const aliWebOssUpload = (file, path, limitSize) => {
return new Promise(async (resolve, reject) => {
// 校验过期时间
await checkUploadConfig()
let UploadConfig = store.getters.uploadConfig
let _limitSize = limitSize ? limitSize : 104857600
var policyText = {
expiration: UploadConfig.Expiration, //设置该Policy的失效时间,超过这个失效时间之后,就没有办法通过这个policy上传文件了
conditions: [
["content-length-range", 0, _limitSize], // 设置上传文件的大小限制
],
};
let policyBase64 = Base64.encode(JSON.stringify(policyText));
let message = policyBase64;
var bytes = Crypto.HMAC(
Crypto.SHA1,
message,
UploadConfig.AccessKeySecret,
{
asBytes: true,
}
);
let userInfo = store.state.user.userInfo
let signature = Crypto.util.bytesToBase64(bytes);
let fileName = + new Date() + '' + getRandomNumber() + getSuffix(file.name);
let dir = path
let key = dir + fileName
let fd = new FormData();
fd.append("key", key); //存储在oss的文件路径
fd.append("OSSAccessKeyId", UploadConfig.AccessKeyId); //accessKeyId
fd.append("policy", policyBase64); //policy
fd.append("Signature", signature); //签名
fd.append("x-oss-security-token", UploadConfig.SecurityToken); //安全令牌
fd.append("file", file);
fd.append("success_action_status", UploadConfig.StatusCode); //成功后返回的操作码
let fileUrl = UploadConfig.host + "/" + key;
axios
.post(UploadConfig.host, fd, {
headers: {
"Content-Type": "multipart/form-data",
},
})
.then(() => {
console.log(fileUrl,'fileUrl');
resolve(fileUrl)
})
.catch((err) => {
reject(err)
console.log(err, "失败原因");
});
});
};
// 返回文件名字后缀
function getSuffix(fileName) {
var pos = fileName.lastIndexOf(".");
var suffix = "";
if (pos != -1) {
suffix = fileName.substring(pos);
}
return suffix;
};
// 校验本地缓存oss配置过期时间, 没有或者过期服务端获取
function checkUploadConfig() {
return new Promise((resolve) => {
let uploadConfig = store.getters.uploadConfig
if (!uploadConfig) {
getStsSet().then((res) => {
store.commit("setUploadConfig", res)
resolve();
});
} else {
let { Expiration } = uploadConfig;
let numExp = +new Date(Expiration);
let nowTime = +new Date();
if (nowTime < numExp) {
resolve();
} else {
getStsSet().then((res) => {
store.commit("setUploadConfig", res)
resolve();
});
}
}
});
}
// 返回随机数 1000- 9999
function getRandomNumber() {
const min = 1000;
const max = 9999;
const randomNumber = Math.random() * (max - min) + min;
return Math.floor(randomNumber);
}
代码解释:
fileName 这个是需要按照自己业务需求来的,我这里采用的是时间戳+随机 1000-9999数字拼接。
fileUrl 字段 这个是用于反显图片的,提交时传给后端的字段。
fd.append 的代码一定要按照我上面的顺序执行,否则有可能造成oss返回错误。
封装上传组件 UploadBtn
<template>
<div>
<div v-if="!value">
<el-upload
v-if="type === 'image'"
:limit="1"
accept="image/*"
:action="''"
list-type="picture-card"
:show-file-list="false"
:before-upload="beforeUploadFn"
:http-request="materialUpload"
:file-list="fileList"
>
<i slot="default" class="el-icon-plus"></i
></el-upload>
<el-upload
v-if="type === 'video'"
:limit="1"
accept="video/*"
:action="''"
list-type="picture-card"
:before-upload="beforeUploadFn"
:http-request="materialUpload"
:file-list="fileList"
:show-file-list="false"
>
<i slot="default" class="el-icon-plus"></i
></el-upload>
</div>
<div v-else>
<div v-if="type === 'image'">
<div
class="avatar-box"
@mouseleave="mouseleaveFun"
@mouseenter="mouseenterFun"
v-if="value"
>
<img class="avatar-img" :src="value" alt="" />
<div class="avatarMask" :class="{ active: imgActive }"></div>
<div class="item-actions" :class="{ active: imgActive }">
<div class="item-icon" @click="handlePictureCardPreview(value)">
<i class="color-w el-icon-zoom-in"></i>
</div>
<div class="item-icon" @click="handleRemove()">
<i class="color-w el-icon-delete"></i>
</div>
</div>
</div>
</div>
<div class="videoBox" v-else>
<div class="video-item">
<video :width="220" :height="100" controls="controls" preload="auto">
<source :data-src="value" :src="value" type="video/mp4" />
</video>
</div>
<div>
<el-button
type="danger"
icon="el-icon-delete"
@click="handleRemove('video')"
>删除视频</el-button
>
</div>
</div>
</div>
<el-dialog :visible.sync="dialogVisible" :append-to-body="true">
<img width="100%" style="border-radius: 50%" :src="dialogImageUrl" />
</el-dialog>
<StarModal v-model="showModal" :text="modalText" @confirm="confirmModal" />
</div>
</template>
<script>
import {aliWebOssUpload} from '@/utils/upload.js' // 根据自己真实路径引入
export default {
name: "uploadBtn",
props: {
// 素材数据
value: { type: String, default: "" },
// 素材类型
type: { type: String, default: "image" },
// 宽度
width: { type: Number, default: 150 },
// 宽度
height: { type: Number, default: 150 },
limitSize: { type: Number, default: 104857600 }, // 单位 kb , 默认限制100M
filePath: {
type: String,
default: "files/movement/"
} // oss服务器文件路径
},
model: {
prop: "value",
event: "myChange",
},
data() {
return {
dialogImageUrl: "", // 图片预览src
dialogVisible: false, // 图片预览弹窗
imgActive: false,
fileList: [],
showModal: false,
modalText: "",
};
},
computed: {
showUpBtn() {
console.log(this.num - value.length > 0, "showUpBtn");
return this.num - value.length > 0;
},
},
mounted() {
},
created() {},
methods: {
beforeUploadFn(file) {
const _isLimit = file.size / 1024 > this.limitSize;
const limit = this.limitSize / 1024 / 2024;
if (_isLimit) {
this.$message.error("上传文件大小不能超过" + limit + "M");
return false;
}
return true;
},
//自定义上传方法
async materialUpload(e) {
let materialFile = e.file;
let limit100M = materialFile.size / 1024 / 1024 < 100;
if (limit100M) {
aliWebOssUpload(materialFile, this.filePath, this.limitSize).then(fileUrl=> {
this.$emit("myChange", fileUrl);
}).catch(err=> {
this.fileList = [];
})
} else {
this.$message({
message: "上传文件过大,上传文件不能超过100M",
type: "error",
});
}
},
handlePictureCardPreview(url) {
this.dialogImageUrl = url;
this.dialogVisible = true;
},
mouseleaveFun() {
this.imgActive = false;
},
mouseenterFun() {
this.imgActive = true;
},
handleRemove(type = "img") {
let str = type === "img" ? "图片" : "视频";
this.modalText = `确定要删除当前${str}吗?`;
this.showModal = true;
},
confirmModal() {
this.$emit("myChange", "");
this.$nextTick(() => {
this.showModal = false;
});
},
},
};
</script>
<style lang="scss" scoped>
.avatar-box {
width: 80px;
height: 110px;
overflow: hidden;
position: relative;
.avatar-img {
display: block;
width: 100%;
height: 100%;
}
.avatarMask {
position: absolute;
top: 0;
left: 0;
width: 100%;
height: 100%;
background: #000;
opacity: 0;
transition: all 0.6s;
}
.active.avatarMask {
opacity: 0.5;
}
.item-actions {
display: flex;
width: 100%;
height: 100%;
align-items: center;
justify-content: space-around;
position: absolute;
top: 0;
left: 0;
box-sizing: border-box;
transform: translateY(300px);
transition: all 0.6s;
.color-w {
color: white;
font-size: 20px;
}
}
.item-actions.active {
transform: translateY(0);
}
}
.videoBox {
display: flex;
align-items: center;
position: relative;
.video-item {
margin-right: 10px;
video {
border-radius: 4px;
box-shadow: 0px 0px 0px rgba(0, 0, 0, 0.1),
0px 17px 36px rgba(23, 57, 222, 0.25);
}
}
}
</style>
上面代码是我个人自己封装的组件,大家可以按照自己喜好来封装样式
组件在页面中的使用
<UploadBtn v-model="form.videoCoverUrl" />
是不是非常简单~
最终效果,

好了,本次笔记到此结束,祝大家好运